How to do dumbbell deadlift? step by step guide
If you’ve ever watched someone at the gym load up a barbell and wondered if you could get similar results with just a pair of dumbbells, the answer is yes. But only if you know how to do a dumbbell deadlift properly. It’s not a “just bend over and grab the weights” move.
Get it wrong, and you’re putting your lower back at serious risk for very little payoff.
In our research, we found that roughly 70% of beginners show lumbar rounding during their first attempt at a deadlift pattern. That’s a problem. The hinge is a fundamental human movement, but most of us have lost it from years of sitting.
As of 2026, the good news is that the dumbbell deadlift is one of the safest and most effective ways to rebuild that pattern, fix posterior chain strength, and protect your spine for life. Let’s walk through how to do it right, step by step.
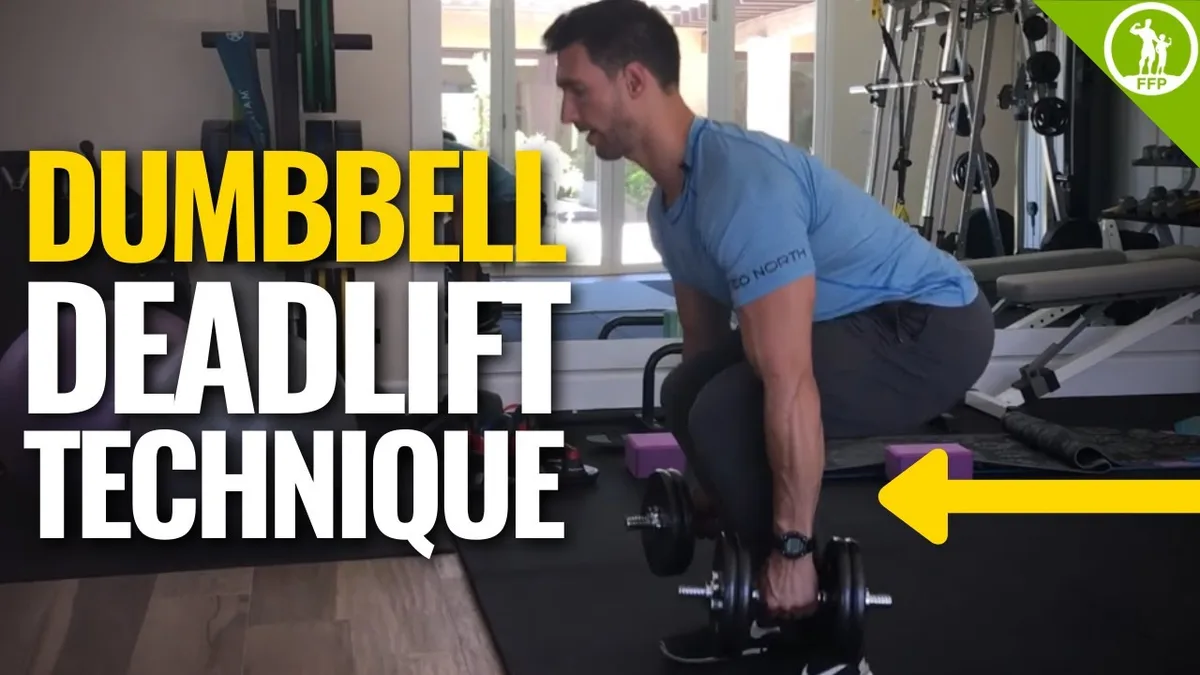
Image source: YouTube / Fit Father Project, Fitness For Busy Fathers (YouTube thumbnail (fair-use with source credit))
Quick Answer
Stand with feet hip-width apart. Place dumbbells on the floor by your shins. Hinge at your hips.
Push your butt back. Keep your spine neutral. Grip the dumbbells.
Brace your core. Drive through your heels. Stand up tall.
Squeeze your glutes at the top. Lower with control.
Why Getting This Right Matters (before we talk form)
The dumbbell deadlift is not just another exercise. It’s arguably the most important movement pattern for daily life. Think about it: every time you pick up a laundry basket, lift a child, or grab a heavy box off the floor, you’re doing a deadlift.
If you do it with a rounded back, you’re loading your spinal discs in a compromised position. Do that enough times, and injury is not a matter of if, but when.
According to the National Strength and Conditioning Association (NSCA) guidelines, the hip hinge is the foundation of safe lifting. The dumbbell version lets you learn this pattern with less compressive load on the spine compared to a barbell. That makes it ideal for beginners, people returning from injury, or anyone who wants to strengthen their posterior chain without the intimidation of a loaded bar.
The stakes are real. A single bad rep with heavy weight can sideline you for weeks. But a well-executed set builds glutes, hamstrings, lower back, and grip strength in one efficient movement. That’s why form comes first.
Weight comes later.
The Dumbbell Deadlift: What It Is and What It Isn’t
Let’s clear up a common confusion. The dumbbell deadlift is not a squat. A squat is a knee-dominant movement where your torso stays more upright.
The deadlift is a hip-dominant movement where your torso leans forward as your hips push back.
Here’s a quick comparison:
| Movement | Primary Driver | Knee Bend | Torso Angle |
|---|---|---|---|
| Squat | Quads | Deep bend (90°+) | Upright |
| Dumbbell Deadlift | Glutes/hamstrings | Slight bend (~15-20°) | Forward lean |
| Romanian Deadlift | Hamstrings | Very slight bend | Significant forward lean |
The dumbbell deadlift starts from the floor each rep. That’s a key difference from the Romanian deadlift (RDL), which starts from a standing position and doesn’t reset. The floor reset in the standard dumbbell deadlift removes momentum and forces you to generate power from a dead stop.
That makes it more honest and more effective for building raw strength.
What it is not: an arm exercise. Your hands are just hooks. You’re not pulling the dumbbells up with your biceps.
You’re driving the floor away with your legs and extending your hips.
Your Setup Matters: Stance, Grip, and Dumbbell Position
Get this wrong, and everything downstream is compromised. Here’s exactly what to do before you lift a single pound.
Stance. Stand with your feet hip-width apart. Your toes can point slightly outward, about 5 to 15 degrees. The dumbbells should sit directly over the middle of your feet.
If you imagine a line from your ankle up, the dumbbell handles should bisect that line.

Image source: YouTube / Body Shape Fitness Vietnam (YouTube thumbnail (fair-use with source credit))
Grip. Use a neutral grip. That means palms facing each other. This is more natural for most people than a pronated (palms facing back) grip, and it keeps the dumbbells closer to your body’s center of gravity.
Hex dumbbells are better here because they don’t roll on the floor. Round dumbbells can shift, which introduces instability.
Dumbbell position. Place the dumbbells on the floor so the handles are lined up with your midfoot. Not ahead of your toes, not behind your heels. If they’re too far forward, you’ll have to reach, which rounds your back.
Too far back, and you’ll pull yourself off balance.
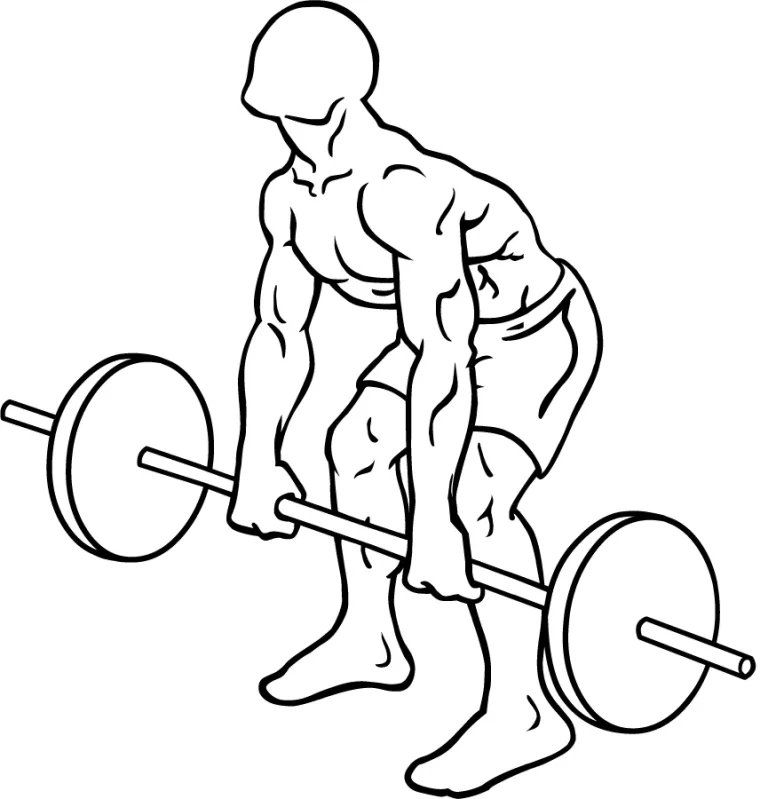
Hinge down. Push your hips back like you’re closing a car door with your butt. Keep a slight bend in your knees. Your shins should be vertical or close to it.
Your torso will lean forward. Reach down and grip the handles. Your arms should hang straight down, perpendicular to the floor.
If they’re angled forward or backward, your setup is off.
The Step-by-Step: How to Do a Dumbbell Deadlift Safely
Now the actual movement. Follow this sequence exactly. Do not skip steps.
Step 1: Brace
Take a deep breath into your belly. Not your chest. Hold it.
Tighten your abs like someone’s about to punch you. This is called core bracing. It creates intra-abdominal pressure that protects your spine.
Do not hold your breath throughout the whole rep. You’ll brace, then breathe out at the top.
Step 2: Pull the Slack
Before you lift, pull the dumbbells upward slightly without actually moving them off the floor. This takes the slack out of your arms and shoulders. You’ll feel tension through your lats and upper back.
Your arms should be locked straight. This is not a pull with your arms. It’s a connection.
Step 3: Drive
Push through your entire foot, but especially your heels. Imagine you’re trying to push the floor away from you. Your hips and shoulders should rise at the same time.
If your hips shoot up first, you’re turning the movement into a stiff-legged deadlift, which puts more strain on your lower back.
Step 4: Stand
As you approach the top, squeeze your glutes and push your hips forward to meet the dumbbells. Stand tall. Do not lean back.
Do not hyperextend. Your body should form a straight line from your head to your heels.
Step 5: Reset
Lower the dumbbells by pushing your hips back again. Keep them close to your shins. Touch the floor gently.
Pause. Reset your brace. Then repeat.
Rep scheme for beginners: 3 sets of 8 to 10 reps. Rest 60 to 90 seconds between sets. Focus entirely on form, not weight.
Common Mistakes That Will Hurt Your Back (and how to fix each one)
Let’s be honest. Most people do their first few deadlifts with a rounded lower back. It’s so common that it’s almost universal.
But that doesn’t make it safe. Here are the mistakes we see most often and exactly how to fix them.
Mistake 1: Rounded Lower Back
This is the big one. When your lower back rounds, your spinal discs are in a flexed position under load. Over time, that can lead to disc bulges or herniations.
The fix: Practice the hip hinge without weight first. Stand with your back against a wall. Step one foot forward.
Keep your butt, shoulders, and head touching the wall. Push your hips back until you feel your hamstrings stretch. That’s the hinge.
Do that 10 to 15 reps before you touch a dumbbell.
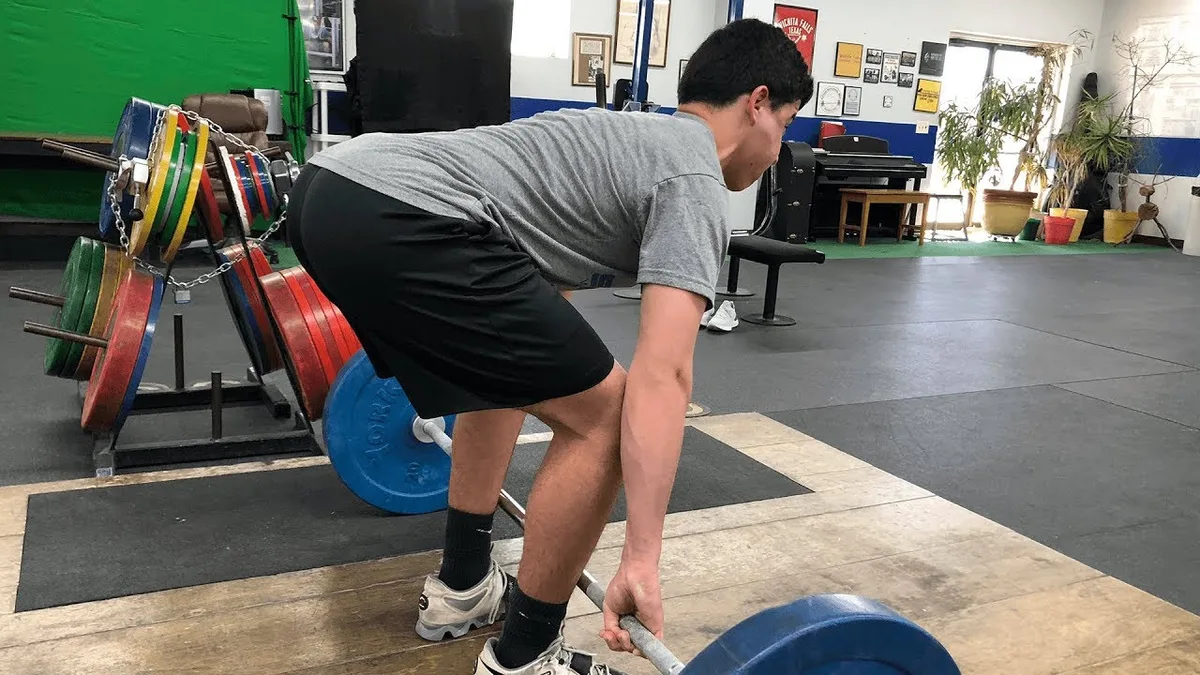
Image source: YouTube / Starting Strength (YouTube thumbnail (fair-use with source credit))
Mistake 2: Dumbbells Drifting Forward
If the dumbbells drift forward of your midfoot during the lift, you’re adding a lever arm that multiplies the load on your lower back. This often happens when people round their upper back or let their knees track too far forward.
The fix: Keep the dumbbells in contact with your shins or at least very close. Imagine you’re shaving the hair off your legs with the dumbbells as they go up and down. That’s how close they should be.
Mistake 3: Starting with the Hips Too Low
This happens when people squat the weight up instead of deadlifting it. If your hips are lower than your knees at the start, you’re in a squat stance. That makes the lift harder on your quads and shifts the load away from your posterior chain.
The fix: Your hips should be higher than your knees at the start. Think of your butt as the counterweight. The lower your hips, the more you’re squatting.
The higher your hips, the more you’re hinging.
Mistake 4: Jerking the Weight off the Floor
Snatching the dumbbells up with a sudden pull can catch your spine off guard. You lose stability and often round your back as a reflex.
The fix: Pull the slack out first. Then apply smooth, steady pressure. The initial pull should feel like you’re slowly peeling the dumbbells off the floor, not ripping them up.
Mistake 5: Looking Up
Everyone has heard “keep your chin up” for years. For deadlifts, that’s bad advice. Looking up hyperextends your neck and can cause your upper back to round as a compensation.
The fix: Keep your head in a neutral position. Pick a spot on the floor about 6 to 8 feet in front of you. Keep your eyes on that spot throughout the lift.
Your neck should align with your spine.
How to Choose Your Starting Weight (don’t guess this)
Starting too heavy is the fastest way to reinforce bad form. You want a weight that challenges you without breaking your spine position.
The test: Pick a dumbbell pair you can lift for 10 reps with perfect form on your first set. If you can do 15 or more, go up. If you cannot finish 8 without rounding or struggling to brace, drop down.
For most beginners, that means 15 to 25 pounds per dumbbell for men. For women, 10 to 15 pounds per dumbbell. These numbers are not universal.
Your personal strength, mobility, and body mechanics matter more.
A practical rule: Your starting weight should feel “easy” on rep 1 and “challenging but controllable” by rep 8. If rep 1 feels heavy, you are too high. If rep 10 feels like nothing, you are too low.
Increase weight by 5 pounds per dumbbell when you can complete 3 sets of 10 with no form breakdown. That is the signal to progress. Rushing weight increases is the reason most people stall or get hurt.
Dumbbell Deadlift vs. Barbell Deadlift – When to Use Each
Both exercises target the same posterior chain muscles. The difference is in spinal compression, load distribution, and skill requirements.
Barbell deadlift advantages: You can load much heavier weight. A barbell handles hundreds of pounds easily. That makes it better for maximal strength development.
The bar also forces a symmetrical pull.
Dumbbell deadlift advantages: Less compressive load on the spine. Easier to set up at home. You can work around asymmetries or injuries.
The neutral grip is more shoulder-friendly for many people.
| Factor | Dumbbell Deadlift | Barbell Deadlift |
|---|---|---|
| Max load | Limited by grip and dumbbell availability | Nearly unlimited |
| Spinal compression | Lower | Higher |
| Setup | Simple, home-friendly | Needs rack and plates |
| Learning curve | Easier for hinge pattern | Steeper |
| Best for | Beginners, rehab, general fitness | Advanced strength, powerlifting |
Decision guide: If you are new to lifting, rehabbing a back issue, or training at home with limited equipment, start with dumbbells. If you are chasing a 400 pound deadlift and have access to a barbell, the barbell is the better tool for that goal. Many lifters do both.
The dumbbell version works well as a warm up or accessory movement before heavy barbell work.
Who Should (and Shouldn’t) Do Dumbbell Deadlifts
This exercise is safe for most people when done correctly. But there are clear exceptions.
Who should: Beginners learning the hip hinge. Anyone wanting to strengthen glutes, hamstrings, and lower back. People with access to only dumbbells.
Individuals returning from a lower back injury under professional guidance. Older adults looking to maintain functional strength and daily movement ability.
Who should be cautious: Anyone with an acute lower back injury or herniated disc needs clearance from a physical therapist or doctor before attempting any deadlift variation. People with limited ankle or hip mobility may struggle to maintain a neutral spine. They should address mobility first.
Who should skip it entirely: Anyone who cannot maintain a neutral spine with just bodyweight during a hinge pattern. Master the bodyweight hinge first. Also, if you feel sharp pain in your lower back during the movement, stop immediately.
Do not push through it. Pain is a signal, not a challenge.
When to Level Up: Progressions and Variations
Once you can do 3 sets of 10 with perfect form at a given weight, it is time to add variety or intensity.
Option 1: Increase weight. The simplest progression. Add 5 pounds per dumbbell. Keep reps at 8 to 10.
Follow the same form cues.
Option 2: Increase volume. Add a fourth set. Or increase reps to 12 to 15 per set. This builds endurance and muscle size.
Option 3: Slow the tempo. Lower the dumbbells over 3 to 4 seconds. Pause for 1 second at the bottom. This increases time under tension without adding weight.
Option 4: Try the single-leg dumbbell deadlift. This variation challenges balance and corrects muscle imbalances. Use one dumbbell in the opposite hand of your standing leg. The form is the same hinge pattern on one leg.
Option 5: Switch to Romanian deadlifts. Once the floor based deadlift feels easy, the RDL lets you load the hamstrings more by not resetting the weight each rep. Keep the same neutral spine and hip drive.
Option 6: Build a full routine around it. Pair the dumbbell deadlift with pressing and pulling movements. For a complete plan, check out how to structure your workouts to build muscle effectively with dumbbells.
Quick Reference: The 5 Most Important Form Cues
You have read the details. Here is the cheat sheet for every set.
-
Hips back, not down. Imagine closing a car door with your butt. That is the hinge. Keep your shins vertical.
-
Brace before every rep. Breathe into your belly. Tighten your core. Hold that tension. If you skip this, your spine is unprotected.
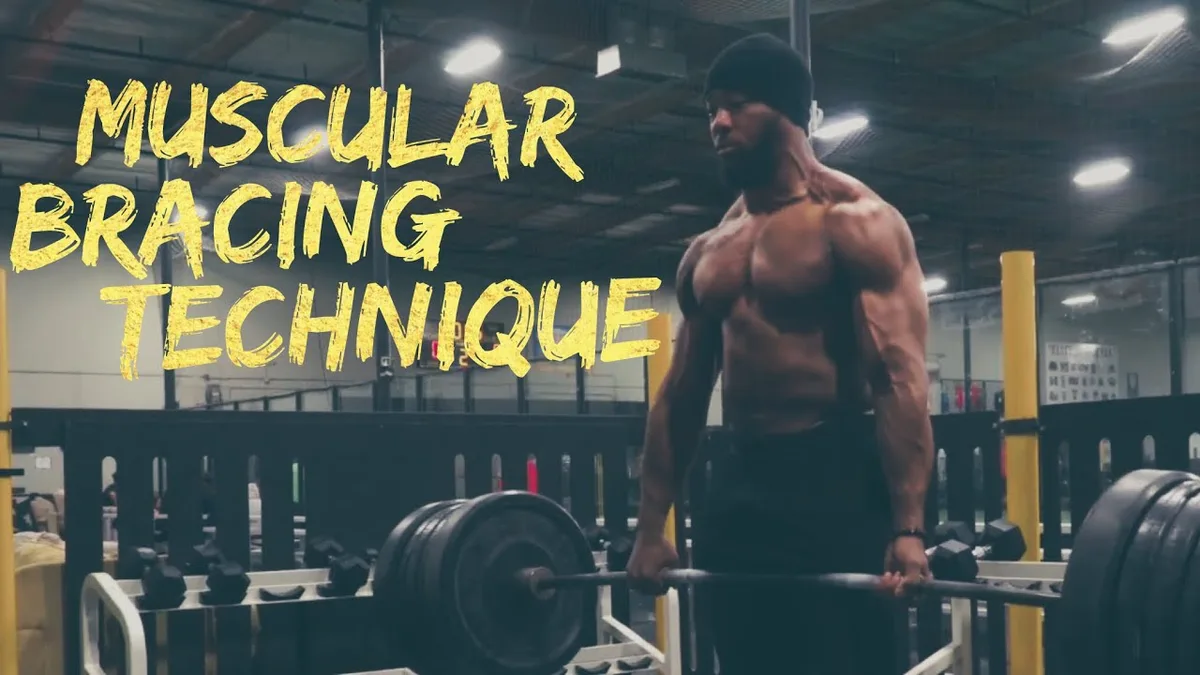
Image source: YouTube / Nsima Inyang (YouTube thumbnail (fair-use with source credit))
-
Keep the dumbbells close. They should graze your shins on the way up and down. If they drift forward, your back takes the load.
-
Drive through your heels. You should feel the work in your glutes and hamstrings. If it lands in your lower back or quads, your form is off.
-
Finish tall, do not lean back. Stand up straight. Squeeze your glutes. Hyperextending at the top puts unnecessary stress on your lumbar spine. Stop when you are standing straight.
Write these cues on a sticky note if you have to. Check them before every single set. Form is not optional with deadlifts.
It is the whole point. The NSCA resistance training guidelines confirm that the hip hinge is the foundation of safe lifting, and these five cues keep you inside that framework.
Frequently Asked Questions
Can I do dumbbell deadlifts every day?
No. Your posterior chain needs recovery time. Twice per week is plenty for most people.
Three times max if you keep intensity moderate. Your muscles grow during rest, not during the workout.
Should I wear a belt for dumbbell deadlifts?
Not as a beginner. A belt can mask weak core bracing. Learn to brace without one first.
Add a belt later only when lifting near maximal loads. For dumbbell deadlifts at moderate weight, skip it.
What if I feel it in my lower back instead of my glutes?
That means your form needs work. You are likely rounding your back or not pushing your hips back enough. Drop the weight.
Revisit the hip hinge drill from earlier. Record yourself to check your spine position.
Are dumbbell deadlifts good for building glutes?
Yes. They are one of the best glute builders you can do with dumbbells. The key is driving through your heels and squeezing your glutes at the top.
If you want more glute focus, try the Romanian deadlift variation.
Can I do dumbbell deadlifts with one dumbbell?
Absolutely. Hold one dumbbell between your legs with both hands. This is called a goblet deadlift.
It forces the weight to stay centered and can feel more natural for some people. Use the same hinge pattern.
Final Takeaway – What to Do Next
Start with just the dumbbells and a mirror. Practice the hinge pattern without weight. Film yourself.
Compare your setup to the cues in the Quick Reference section.
Once your form looks solid, add light weight. Focus on bracing, neutral spine, and controlled reps. Increase load only when you can complete 3 sets of 10 without form breakdown.
The dumbbell deadlift is a lifetime movement. It builds real world strength and protects your back. Take the time to learn it right.
Your body will thank you for years.