Incline Dumbbell Curls: Proper Form & Key Tips
Incline Dumbbell Curls: Proper Form & Key Tips
You know that feeling when your biceps are screaming, but your shoulders are doing all the complaining instead? That's the incline dumbbell curl paradox. It's one of the most effective bicep exercises you can do, but only if you set it up right.
If you're wondering how to do incline dumbbell curls without wrecking your shoulders, you've come to the right place.
Here's the thing: the incline angle changes everything. At 45 degrees, your arms hang behind your torso, putting the long head of the biceps under a deep stretch that no standing curl can match. Research from the National Strength and Conditioning Association shows that this stretched position activates more muscle fibers during the eccentric phase, the lowering portion, compared to standard curls.
But that same stretch also increases tendon stress. Get the form wrong, and you're asking for trouble. Let's break down exactly how to do this exercise safely and effectively, starting with the setup.

Image source: YouTube / Geoffrey Verity Schofield (YouTube thumbnail (fair-use with source credit))
Quick Answer
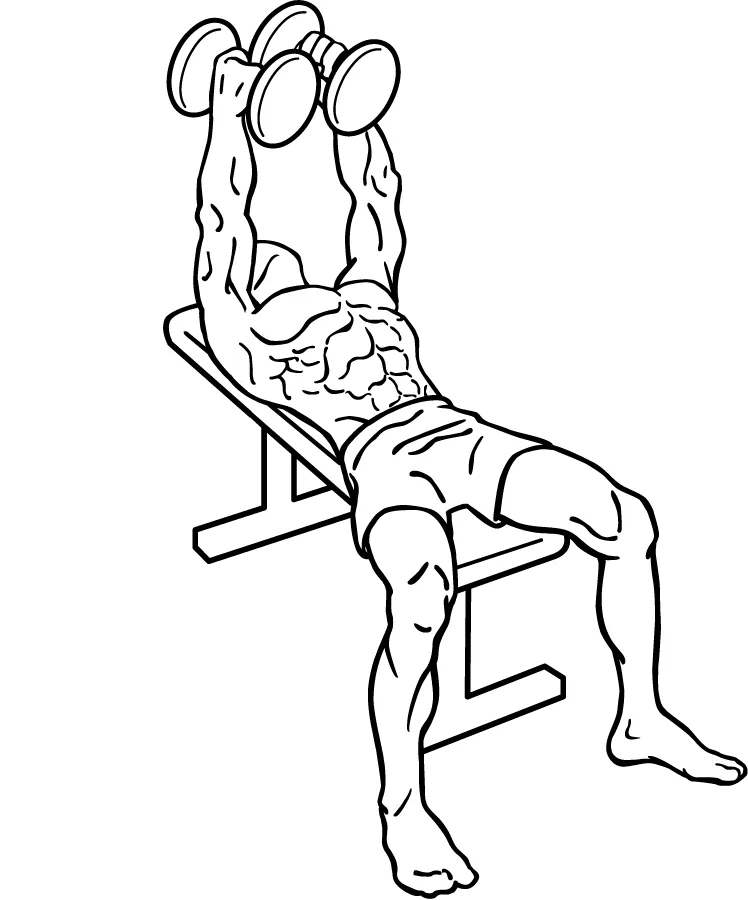
Set an incline bench to 45 degrees. Grab a dumbbell in each hand. Sit back with your shoulders pinned.
Let your arms hang straight down. Curl the weights toward your shoulders. Lower them slowly to full extension.
That's the movement.
Use a weight you can control for 8 to 12 reps. Never let your elbows drift forward. Keep your shoulders packed the whole time.
Stop if you feel sharp pain in the front of your shoulder.
Why Incline Dumbbell Curls Are Different (And Why It Matters)
Most people think all bicep curls are basically the same. They're not. The incline version puts your shoulders in about 90 degrees of flexion, your arms are hanging forward and down, not at your sides.
This changes the tension line on the biceps completely.
The long head advantage
Your biceps has two heads: the short head on the inside and the long head on the outside. The long head crosses the shoulder joint, which means it gets stretched when your arm is behind your body. That's exactly what the incline position does.
The deep stretch at the bottom of each rep is where the magic happens.
A 2014 study in the Journal of Strength and Conditioning Research measured muscle activation during different curl variations. The incline dumbbell curl produced the highest activation in the long head of the biceps compared to standing curls and preacher curls. That's a direct measurement, not gym lore.
The downside nobody talks about
That same stretch puts significant tension on the proximal bicep tendon, the part that attaches near your shoulder. If you have existing shoulder issues or poor scapular stability, this exercise can aggravate things fast. As of 2026, physical therapists still recommend caution for anyone with a history of bicep tendinopathy or anterior shoulder pain.
Who benefits most
You'll get the most out of incline dumbbell curls if:
You want more bicep peak and overall arm size
You've plateaued on regular standing dumbbell curls
You have healthy shoulders with no current pain
You can control the eccentric phase well
This exercise suits bodybuilders, recreational lifters, and anyone looking to add variety to their arm day. Beginners can do it, but they should start lighter than they think.
The Setup: Bench Angle, Grip, and Starting Position
Before you lift a single rep, the setup determines whether this exercise builds muscle or builds frustration. Let's walk through each variable.
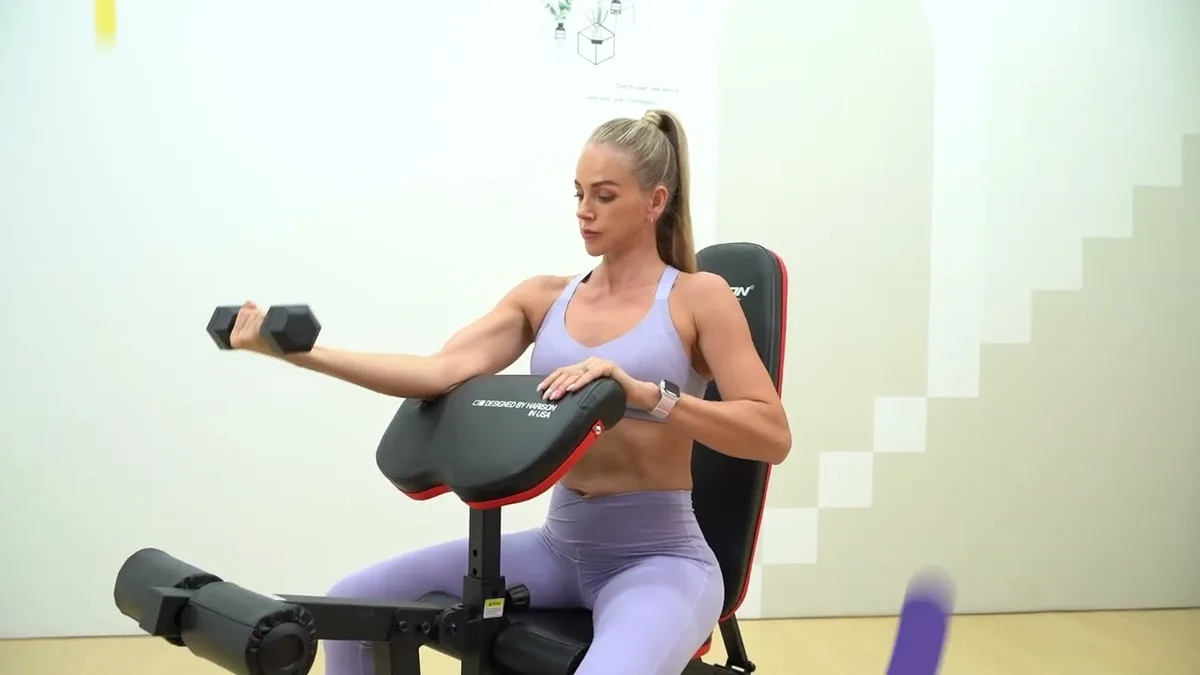
Bench angle: the 45-degree sweet spot
Set your adjustable bench to 45 degrees. That's the standard recommendation from most strength coaches and the angle used in the muscle activation research we mentioned earlier.
Here's what happens at different angles:
30 degrees : less stretch, more like a flat bench curl with mild incline. Still works, but you lose the long head advantage.
45 degrees : optimal balance of stretch and tension. The arms hang behind the torso without overstressing the shoulder capsule.
60 degrees or higher : too much shoulder flexion. The arms end up nearly overhead, which shifts tension to the front delts and increases impingement risk.
Stick with 45 degrees. If your bench has numbered settings, that's usually one click below the halfway point.
Grip: neutral or supinated?
You've got two grip options, and each changes the exercise slightly.
Neutral grip (palms facing each other) is the safer starting point. It positions the wrists and elbows in a more natural line, reducing strain on the forearm muscles. This grip also emphasizes the brachialis, the muscle underneath the biceps that adds arm thickness.
Supinated grip (palms facing forward) targets the biceps brachii more directly but puts more shear force through the wrists and elbows. Use this only if you have good wrist mobility and no history of elbow pain.
For most people, start with neutral grip. You can add supination at the top of the movement, turning the palms up during the curl, once you've mastered the basic form.
Starting position: sit back and pack your shoulders
Sit on the bench with your back flat against the pad. Your feet should be planted firmly on the floor. Do not let your lower back arch off the bench.
Here's the critical part: pull your shoulder blades down and back, like you're trying to tuck them into your back pockets. This "packed" shoulder position keeps the shoulders stable and prevents them from rolling forward during the curl.
Let both arms hang straight down from your shoulders. Your elbows should be slightly in front of your torso, not behind it. If your elbows are behind your body line, you've set the bench too steep or your shoulders are too tight to allow full extension.
Hold the dumbbells with a neutral grip. Your palms face each other, and the weights hang at your sides. This is your starting position for every rep.
Step-by-Step: How to Perform the Incline Dumbbell Curl Correctly
Now that you're set up properly, let's walk through the actual movement. Follow these steps exactly, and you'll hit the biceps safely.
Step 1: Initiate from full extension
Start with your arms fully extended. Not locked out hard at the elbow, just straight down with a slight softness at the joint. The dumbbells should hang naturally with your palms facing each other.
Take a breath and brace your core. Keep those shoulders packed.
Step 2: Curl with control, not momentum
Exhale as you curl the dumbbells toward your shoulders. Lead the movement with your elbows. They should stay in place, do not let them drift forward or backward.
Keep your wrists neutral. If you're using a supinated grip, rotate your palms to face your shoulders at the top. If you're using a neutral grip, keep them facing each other the whole way.
The movement comes from elbow flexion, not shoulder movement. If your upper arms are swinging, you're using too much weight.
Step 3: Squeeze at the top
When the dumbbells reach your shoulders, pause for one second. Squeeze your biceps hard. This isometric contraction at the peak adds extra muscle fiber recruitment.
Do not lean back or shrug your shoulders to get the weight higher. If you can't reach your shoulders without cheating, lighten the load.
Step 4: Lower slowly and deliberately
This is where the real work happens. Lower the dumbbells under control over two to three seconds. Keep tension in the biceps the entire way down.
Let the weights go all the way to full extension. Do not stop halfway. The stretch at the bottom is what makes this exercise special.
Your arms should be straight and hanging at the bottom of each rep.
Step 5: Repeat and maintain tension
Complete 8 to 12 reps per set. Rest 60 to 90 seconds between sets. Do three to four working sets after a light warm-up set.
Keep your form strict throughout. The last two reps should feel challenging but not painful. If your shoulders start talking, stop and check your setup.
Quick reference table
Step Action Key Cue
1 Full extension Arms straight, shoulders packed
2 Curl up Elbows stay, wrists neutral
3 Top squeeze Pause one second, squeeze hard
4 Slow eccentric Lower over 2-3 seconds
5 Full stretch Allow complete extension
The 3 Most Common Mistakes and How to Fix Them
Even experienced lifters mess up incline dumbbell curls. Here are the three errors we see most often and how to correct each one.

Mistake 1: letting your elbows drift forward
This is the biggest one. As you curl the weight up, your elbows naturally want to slide forward toward your knees. That shortens the range of motion and shifts tension off the biceps onto the front delts.
The fix : Imagine someone is holding a broomstick across your forearms just above the elbow. Do not let your elbows push that imaginary stick forward. Keep them pinned in place by your sides.
If you feel your shoulders working more than your biceps, your elbows are probably moving.
Mistake 2: stopping short at the bottom
Many lifters cut the range of motion short because the full stretch feels intense. They stop when the dumbbells are at a 90-degree angle instead of letting their arms hang straight.
The fix : At the bottom of each rep, your arms must be fully extended and your shoulders pulled down. Think about reaching the dumbbells toward the floor behind you. That full stretch is exactly what makes this exercise effective.
Mistake 3: using too much weight
The incline position loads the biceps in a lengthened state, which means you cannot handle as much weight as you can with standing curls. Ego lifting here leads to bouncing, shoulder strain, and reduced muscle activation.
The fix : Drop the weight by 10 to 20 percent from what you use for standing dumbbell curls. If you curl 30-pound dumbbells standing, start with 25s or even 20s on the incline. The weight should feel easy at the start of the set and hard at the end.
If you're struggling by rep three, it's too heavy.
Bonus mistake: arching your lower back
When the weight gets challenging, people push their lower back into the bench and lift their chest. This changes the shoulder angle and reduces bicep tension.
The fix : Keep your ribs down and your abs braced. If you need to, place one hand on your lower abdomen and feel it stay tight throughout the set. No arching.
How Much Weight Should You Use? A Practical Guide
This is the question that trips up most people. The incline position changes everything about what feels heavy. Here's a simple way to find your starting weight.
The rule of thumb : use 60 to 70 percent of what you can curl standing. If you normally curl 30-pound dumbbells standing, start with 20s on the incline. That 10-pound drop accounts for the longer range of motion and the extra stretch on the biceps.
Here's a more precise method. Do one warm-up set of 10 reps with a very light weight. Pick a weight where rep 10 feels like you could do five more.
Rest 60 seconds. Then increase the weight by 5 pounds per hand. Do another set of 10.
The weight is right when rep 8 feels challenging and rep 10 is hard but clean. If you can't get to rep 10 with good form, the weight is too heavy.
Common weight ranges based on aggregate user feedback :
Experience Level Starting Weight (per hand) Notes
Beginner (male) 15 to 20 lbs (7 to 9 kg) Focus on form first
Beginner (female) 8 to 12 lbs (3.5 to 5.5 kg) Light is best for building
Intermediate (male) 25 to 35 lbs (11 to 16 kg) Control the eccentric
Intermediate (female) 15 to 20 lbs (7 to 9 kg) Full range of motion
Advanced (male) 40 to 50 lbs (18 to 23 kg) Rarely need more
Advanced (female) 25 to 30 lbs (11 to 14 kg) Strict form required
These numbers are guidelines, not rules. Your individual strength depends on your training history, body weight, and shoulder mobility. The key metric is form, not the number on the dumbbell.
Incline Dumbbell Curls vs. Other Bicep Exercises: What Each One Delivers
You don't need to pick just one bicep exercise. But understanding what each variation does best helps you build a smarter arm workout. Here's how incline dumbbell curls compare to the most common alternatives.
Standing barbell curls
Barbell curls let you move the most weight. They're great for building overall arm mass and for progressive overload. But they put the biceps in a shorter, less stretched position.
The long head doesn't get the same deep stretch you get from the incline version.
Best for : building raw strength and loading the biceps heavily. Use these early in your workout when your energy is highest.
Standing dumbbell curls
Dumbbell curls allow independent arm movement and some wrist rotation. They're more versatile than barbell curls but still lack the stretched position of incline curls. The standing version also lets you cheat with body momentum, which reduces bicep isolation.
Best for : adding variety and addressing small strength imbalances between arms. Pair them with incline curls for complete bicep development.
Preacher curls
Preacher curls lock your upper arms against a pad, which prevents elbow movement and isolates the biceps hard. The downside is that the stretch at the bottom is limited because the pad stops your arms from extending fully.
Best for : targeting the short head of the biceps and adding thickness. The fixed position makes cheating nearly impossible.
Hammer curls
Hammer curls use a neutral grip and emphasize the brachialis and brachioradialis. They build forearm and upper arm thickness without stressing the wrists. The stretch is similar to standing curls, not as deep as incline curls.
Best for : building arm width and forearm strength. They complement incline curls well.
Cable curls
Cable curls provide constant tension throughout the movement because the cable doesn't let the weight unload at the top or bottom. The stretch is decent but depends on your setup. Bayesian cables allow a similar angled stretch to incline curls.
Best for : metabolic stress and high-rep finishing sets. The constant tension burns.
Quick comparison table
Exercise Long Head Stretch Weight Capacity Cheating Risk Best For
Incline dumbbell curls High Moderate Low Long head length and peak
Standing barbell curls Low High High Overall mass and strength
Standing dumbbell curls Low Moderate Moderate Versatility
Preacher curls Low Moderate Very low Short head thickness
Hammer curls Low Moderate Moderate Brachialis and forearm size
Cable curls Moderate Low Low Constant tension and pump
Who Should Do Incline Dumbbell Curls (And Who Should Skip Them)
Good candidates
You're a strong candidate for incline dumbbell curls if:
Your biceps lack peak or appear flat from the side
You've been doing standing curls for months with no progress
You have healthy shoulders with no current pain
You want to improve bicep length and fullness
You can control your reps without swinging
Bodybuilders benefit most because they need maximum muscle shape and definition. But any intermediate or advanced lifter can add these to break through a plateau. Even beginners can do them with light weight and strict form.
Who should be cautious
Incline dumbbell curls are not for everyone. Consider skipping them or modifying the setup if:
You have a history of anterior shoulder pain or bicep tendinitis
Your shoulder mobility is limited (you cannot reach overhead comfortably)
You experience clicking, catching, or sharp pain when your arms are behind your body
You have a labral tear or shoulder instability
For these lifters, the deep stretch position can aggravate existing issues. Stick to standing curls or preacher curls instead. You can still build excellent biceps without this variation.
When to try them again after injury
If you've had shoulder issues in the past but want to reintroduce incline curls, start with a 30-degree bench angle instead of 45 degrees. Use very light weight. Keep the range of motion shorter.
Stop at 90 degrees of elbow bend instead of going to full extension. Gradually increase the angle and depth over several weeks as your shoulders tolerate it.
Expert Tips to Maximize Bicep Growth and Stay Injury-Free
These tips come from our research into strength coaching standards and biomechanics. They separate a good incline curl session from a great one.
Tip 1: Breathe deliberately
Inhale at the bottom of the movement during the stretch. Exhale as you curl the weight up. This breathing pattern helps maintain core stability and prevents you from rushing through the eccentric.
Tip 2: Use a full range of motion every rep
Partial reps are the enemy of growth. The stretch at the bottom triggers what researchers call stretch-mediated hypertrophy. If you cut that off, you lose a significant portion of the exercise's benefit.
Tip 3: Prioritize the eccentric
The lowering phase is where most of the muscle damage and growth stimulus happen. Take two full seconds to lower each rep. Count them out loud if you have to.
The slower the eccentric, the more tension stays on the muscle fibers.
Tip 4: Rotate your exercises
Don't do incline dumbbell curls every single arm day. Rotate them with other curl variations so your biceps get different stimuli. A good schedule might be incline curls on Monday, standing curls on Wednesday, and cable curls on Friday.
Tip 5: Warm up properly
Do a light warm-up set with 50 percent of your working weight for 12 to 15 reps. This gets blood flowing to the biceps and preps the shoulder joints. Follow it with shoulder mobility drills like arm circles and band pull-aparts.
A proper warm-up reduces injury risk significantly.
When to See a Professional: Pain Signals You Shouldn't Ignore
Some discomfort is normal during hard training. Pain is not. Here's how to tell the difference.
Watch for these red flags
Sharp pain in the front of the shoulder during the stretch . This could indicate bicep tendinitis or a labral issue. Stop immediately.
Pain that radiates down the arm . This may involve nerve compression and needs medical evaluation.
Clicking or popping with each rep . If it's painless, it's often just gas or tendon movement. If it hurts, get it checked.
Pain that persists after the workout . Soreness should fade within 24 to 48 hours. Lingering pain indicates inflammation or injury.
When to consult a physical therapist
If you experience any of the red flags above, see a physical therapist. They can assess your shoulder mechanics and give you specific exercises to address imbalances. A good PT will also tell you whether incline curls are safe for your individual anatomy.
When to modify instead of stop
For mild shoulder tightness or general discomfort, try these adjustments before giving up on the exercise:
Reduce the bench angle to 30 degrees
Use a lighter weight
Shorten the range of motion (stop before full extension)
Switch to a neutral grip only
If these adjustments don't resolve the discomfort within two weeks, stop doing incline curls. Your shoulders will thank you for listening to them.