How to Properly Lift Dumbbells – Form & Safety Tips
If you've ever picked up a pair of dumbbells and felt like something was off, you're not alone. Learning how to properly lift dumbbells is one of the most overlooked skills in the gym. Most people focus on the weight on the bar and forget that form is the foundation.
Without it, you're not building muscle, you're building an injury.
According to the National Strength and Conditioning Association, improper lifting form accounts for roughly 40% of gym‑related injuries. That's a number worth paying attention to. The good news?
You don't need a coach standing over you every rep. You just need to understand a few core mechanics and build them into every lift. Let's walk through exactly how to do that.
Quick Answer
Keep your wrists neutral. Brace your core like you're about to be punched. Control the dumbbell on the way down.
Push through your midfoot. Stop the set the moment your form breaks. That's the whole recipe in one breath.

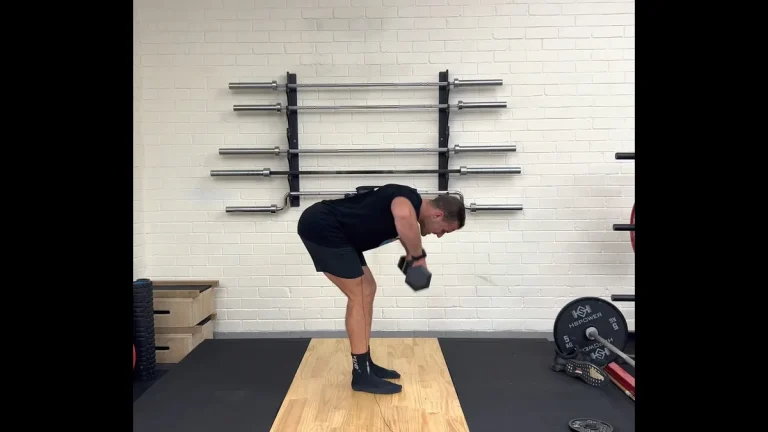
Image source: YouTube / Mike | J2FIT Strength & Conditioning (YouTube thumbnail (fair-use with source credit))
Why Proper Dumbbell Form Actually Matters (It's Not Just About Lifting More)
Most people think good form exists to impress the guy in the mirror. It doesn't. Proper form exists to keep your joints healthy over the long haul.
Dumbbells force each side of your body to work independently, which is great for fixing imbalances. But it also means a small form error on one side can lead to a chronic problem on that shoulder, elbow, or wrist within a few months.
The risk is real. A flared elbow on a dumbbell press can pinch your rotator cuff. A bent wrist on a curl can strain the forearm tendons.
A rounded lower back on a dumbbell row can herniate a disc. These aren't rare freak accidents. They're the slow build‑up of bad mechanics repeated for weeks or years.
What makes dumbbells different from barbells is the freedom of movement. That freedom is a double‑edged sword. With a barbell, the bar path is locked in, so your body has to adapt.
With dumbbells, the weight can drift anywhere. If you don't control that drift, you're asking for trouble.
The goal isn't just to move the weight from point A to point B. The goal is to move it through the right path while keeping your joints in safe, neutral positions. That takes awareness and practice.
But it pays off in better gains and fewer setbacks.
The Core Mechanics: What Your Body Needs to Do Every Rep
Before you pick up a dumbbell, you need to understand a few non‑negotiable positions. These apply to almost every dumbbell exercise. Lock them in before every rep, and you'll cut your injury risk drastically.
Grip and Wrist Position
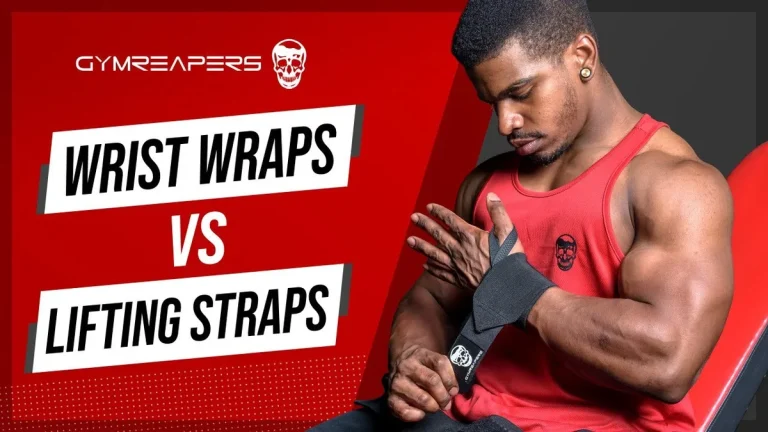
Your wrists should stay straight. Not bent backward, not cranked forward. Imagine you're about to do a push‑up on your fists, that neutral line from forearm to hand is what you want.
If your wrist bends backward under load, the force transfers from your muscles to your tendons and ligaments. That's how you get tendonitis.
When the weight gets heavy, it's tempting to let your wrist fold back for a stronger grip. Don't do it. Use a neutral grip (palms facing each other) for most pressing and pulling movements.
It puts your shoulder joint in a more natural position and takes pressure off the wrist. For curls, keep your palm facing up but your wrist straight.

Image source: YouTube / Remi Sovran (YouTube thumbnail (fair-use with source credit))
Shoulder and Scapular Control
Your shoulder blades should be pulled back and down. Think "proud chest" but not an arched back. For presses, retract the scapula as you set up and keep them there.
For rows, let the scapula move naturally but don't let your shoulder roll forward at the bottom.
If you lose scapular control, your shoulder joint takes the load instead of your muscles. That's a fast track to impingement. A simple cue: before you lift, shrug your shoulders up toward your ears, then pull them down and back.
That's your starting position.
Rib Cage and Core Bracing
This is the one most people miss. Your rib cage should be down, not flared up. When you overhead press, if your ribs poke forward, your lower back arches excessively.
That transfers load from your shoulders to your spine. It also reduces shoulder stability.
Brace your core as if someone is about to punch you in the stomach. Take a deep breath into your belly, not your chest. Hold that tightness throughout the rep.
For exercises where you're lying down (bench press), keep your ribs pulled down toward your hips. For standing exercises, keep your pelvis neutral, not tilted forward and not tucked under.
Hip and Foot Stability
Your feet are your foundation. On standing lifts, push your feet into the floor like you're trying to screw them in. On bench exercises, plant your feet flat and drive through your heels.
If your feet are floating or shifting, your whole chain breaks down.
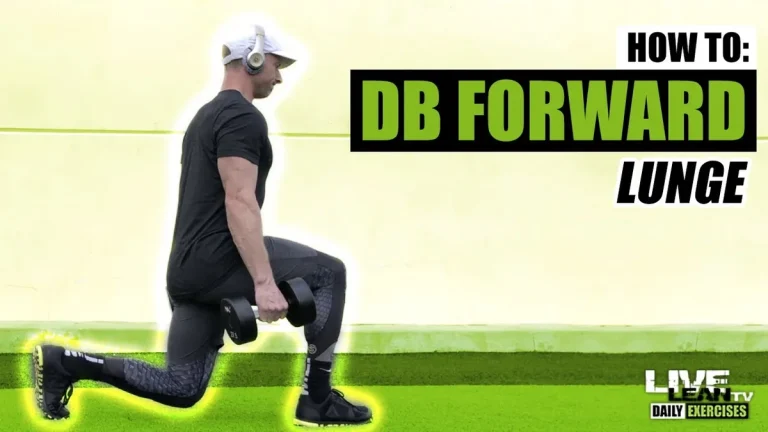
For single‑leg moves like lunges or split squats, keep your front knee tracking over your second toe. Don't let it cave inward. That knee valgus is a common path to ACL and meniscus issues.
The Setup That Prevents 80% of Injuries
How you get the dumbbell into position matters as much as the lift itself. Many injuries happen during the setup, not the working set.
Picking the Dumbbell Off the Floor Without Hurting Your Back
Never bend over with straight legs to grab a heavy dumbbell and then yank it up. That loads your lumbar spine like a deadlift with bad form. Instead, squat down to the dumbbell with your back straight.
Get it close to your body. Use your legs to stand up.
If the dumbbells are on a rack, pull them straight out. Don't twist or reach across your body. Keep your wrists neutral as you lift them off the hooks.
Getting Into Position for Bench Press
Sit on the bench with the dumbbells on your knees. Lean back and use your knees to kick the dumbbells into starting position. Keep your elbows slightly bent, never lock them out.
As you lie back, keep your shoulder blades retracted and pulled down. Plant your feet and brace.
Getting Into Position for Standing Presses
Clean the dumbbells to your shoulders. Pull your elbows down, not flared out. Set your wrists straight.
Take a deep breath and brace. Press overhead while keeping your ribs down. If you feel your lower back arch, the weight is too heavy or you're not bracing correctly.
Getting Into Position for Rows and Pulling Movements
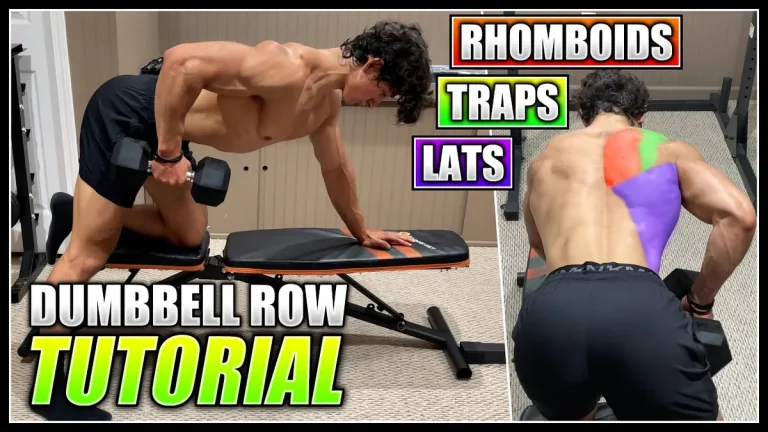
For a single-arm dumbbell row, place your knee and hand on a bench. Keep your back flat, don't let it round. Pull the dumbbell toward your hip, not toward your chest.
Squeeze your lat at the top. Keep your neck neutral, not craned up to look in the mirror.
The Rep Itself: Eccentric, Pause, Concentric
The rep has three phases. Most people rush through them. That's a mistake.
Controlling the Descent (Where Most People Rush)
The lowering phase (eccentric) is where you build the most muscle. Don't drop the weight. Lower it under control over 2 to 4 seconds.
For a bench press, that means the dumbbells travel down smoothly, not crashing into your chest. For a curl, that means your arm straightens slowly, not dropping with gravity.
If you can't control the descent, the weight is too heavy. Drop down 5 to 10 pounds and you'll feel the difference instantly.
The Bottom Position: Where Gains Happen and Injuries Start
At the bottom of a press or row, resist the urge to bounce. Bouncing uses stored elastic energy and takes tension off the muscle. It also torques your joints.
Instead, pause for a beat at the stretched position. For a bench press, that's when your elbows are just below your torso. For a bicep curl, that's with your arm fully extended.
A brief pause (half a second) resets your form and forces your muscles to do the work.
Driving Through the Sticking Point
The concentric (lifting) phase should be explosive but controlled. Drive through your heels or midfoot. Keep your wrist straight.
The hard part is always the middle of the range, the sticking point. For a press, that's when the dumbbells are at eye level. For a row, it's when the dumbbell passes your knee.
Don't contort your body to get past the sticking point. If you have to arch your back or twist to finish the rep, the weight is too heavy. Grinding through bad reps is not strength, it's recklessness.
Lockout: How Much Is Too Much?
Locking out your elbows fully at the top of a press or curl puts direct stress on the joint capsule. For most people, locking out with a soft elbow (just short of full extension) is safer. If you lock hard and bounce out of the bottom, you're chaining two joint stressors together.
Unless you're a competitive powerlifter, a slight bend at lockout is fine. Your muscles will still get enough stimulation without the joint risk.
Dumbbell Exercises Most People Do Wrong
Here are the five most common dumbbell exercises that get butchered in gyms every day. Each one has a specific fix that makes it safer and more effective.
Dumbbell Bench Press (Flared Elbows and Wobbly Paths)
The biggest mistake: elbows flared out to 90 degrees at the bottom. That puts your shoulder into an impingement zone. Keep your elbows at a 45‑degree angle to your torso.
The dumbbells should travel in a gentle arc, not a straight line. Touch them just below your chest, not at your collarbone.
Second mistake: letting the dumbbells drift inward or outward. Keep them stacked over your chest. If they shake side to side, drop the weight.
For more on this movement, check out our breakdown of the specific muscles targeted during a dumbbell bench press.
Dumbbell Shoulder Press (Rib Flare and Arching)
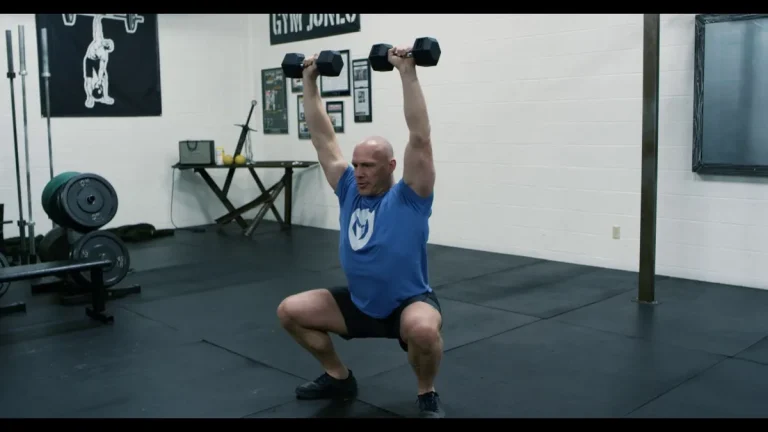
This is where the rib flare image comes in. Watch yourself in a side mirror. If your lower back arches as you press, your ribs are poking out, you're losing core stability.
Pull your ribs down before you press. Also, keep your elbows slightly in front of you, not flared to the sides.

Image source: YouTube / Mission Move Physical Therapy (YouTube thumbnail (fair-use with source credit))
If you struggle with this, check out our guide on maintaining proper shoulder mechanics throughout your set.
Dumbbell Rows (Twisting and Momentum)
The single-arm dumbbell row is supposed to target your upper back. But if you twist your torso to get the weight up, you're turning it into a rotational exercise. Keep your hips square to the bench.
Pull the dumbbell toward your hip pocket, not your armpit. Squeeze your lat at the top.
If you're new to this exercise, our step‑by‑step guide to the single-arm dumbbell row can help you lock in the form.
Dumbbell Bicep Curls (Swinging and Wrist Crank)
The classic ego lift. People swing their body and crank their wrist back to get the weight up. That turns a bicep isolation into a full‑body momentum move.
Keep your elbows pinned to your sides. Don't let them drift forward. Keep your wrist straight throughout the rep.
If you can't curl a weight without swinging, you can't curl it. Drop down until you can.
Dumbbell Goblet Squats (Heels Lifting and Elbow Position)
Hold the dumbbell vertically against your chest with both hands under the top bell. Keep your elbows down, not flared out. As you squat, drive your knees out and keep your chest up.
If your heels lift off the ground, your ankle mobility or stance width is off. Widen your stance or elevate your heels on a small plate.
We have a complete form guide for the dumbbell goblet squat with tips for beginners.
*We're only halfway through the key sections of this guide. The remaining sections, including how to progress safely, the six most dangerous mistakes, and when to see a coach, are covered in the second half of this article. For now, you have the core mechanics, setup, rep structure, and most‑commonly‑messed‑up exercises locked in.
Master these and you're already ahead of 90% of gym‑goers.*
The Six Most Dangerous Dumbbell Mistakes
These errors show up in every gym, every single day. They’re not subtle. If you spot any of these in your own training, fix them immediately.
Mistake 1: Using Momentum Instead of Muscle
Swinging the weight up feels strong. It isn’t. Momentum robs your muscles of tension and transfers load to your joints.
If your torso is rocking, your hips are thrusting, or your shoulders are shrugging to move the weight, you’re not training the target muscle. You’re training your ego. Drop the weight until you can move it with clean, isolated control.
Mistake 2: Letting Your Wrists Bend Backward
We covered this earlier, but it’s worth repeating. A bent wrist under load is a tendon injury waiting to happen. The wrist should remain in a neutral line with your forearm.
If you feel pain on the top or bottom of your wrist during curls or presses, check your wrist angle first. If you can’t keep it straight, the weight is too heavy.
Mistake 3: Flaring Your Elbows on Presses
Flared elbows (pointing straight out to the sides) compress the shoulder joint. Over time, this can lead to impingement, bursitis, or rotator cuff tears. Keep your elbows at roughly a 45‑degree angle from your torso for presses.
For curls, keep them pinned to your sides. For rows, pull your elbow back in a straight line, not out to the side.
Mistake 4: Holding Your Breath Wrong
Holding your breath is good, the Valsalva maneuver stabilizes your spine. But holding it for the entire set or holding it in your chest instead of your belly is bad. Breathe into your stomach before each rep.
Exhale through the hard part of the lift (the concentric phase). Never hold your breath to the point of lightheadedness.
Mistake 5: Choosing Weight Over Control
This is the root of most form breakdowns. You pick a weight that looks impressive on the rack but forces you to compromise every position. The fix is brutal but simple: use a weight you can control through the full range of motion with perfect form for every rep.
If your last rep looks different from your first, you’re not building muscle, you’re building bad habits.
Mistake 6: Ignoring Your Off Side
Your dominant side is stronger. It will naturally compensate for your weaker side if you let it. In dumbbell training, that means your stronger arm might do more work while your weaker arm lags behind.
Over time, this creates visible muscle imbalances and postural issues. Start each set with your weaker side first. Match the reps and weight exactly on your stronger side.
Don’t let your dominant side dictate the pace.
How to Progress Without Getting Hurt
Progressive overload is the foundation of getting stronger. But how you apply it matters. Here’s the safe progression hierarchy.
When to Add Weight
Add weight only when you can complete all prescribed reps with perfect form on your last set. If you hit 12 reps on your first set but only 8 on the last, don’t add weight. Stay at the same load until all sets are clean.
The general rule: if you can hit the top of your rep range (say 12 reps) on every set for two consecutive sessions, bump the weight up by 5 pounds (2.5 per arm for dumbbells).
When to Add Reps Instead
Sometimes the jump from 12 pounds to 15 pounds feels too big. That’s okay. Instead of adding weight, add reps.
Go from 12 reps to 14 or 15. More volume at a manageable weight builds muscle and prepares your joints for heavier loads down the road. This works especially well for isolation exercises like curls and lateral raises.
When to Change the Exercise Completely
If you’ve been doing the same dumbbell bench press for months and you’re not progressing, it’s time for a variation. Switch to an incline press, a floor press, or a close‑grip press. Changing the angle or the stimulus forces your body to adapt in new ways.
You can also change the tempo, slow down the eccentric to 4 seconds. That adds difficulty without adding weight.
If building muscle is your main goal, our complete guide on how to build muscle with dumbbells covers the full progression system.
Signs You Need to Drop the Weight (and Drop Your Ego)
Knowing when to back off is a skill. Here are the red flags that tell you the weight is too heavy.
Pain in the joint, not the muscle. Muscle burn is fine. Sharp or pinching pain in the shoulder, wrist, or elbow is not.
Form breaks down on the first few reps. If you can barely keep your wrist straight on rep two, the weight is wrong.
You’re holding your breath for the whole set. If you can’t exhale and still maintain control, your nervous system is overwhelmed.
You need to jerk or twist to start the movement. A clean lift starts smoothly. If it doesn’t, you’re overreaching.
Your weaker side fails significantly earlier. If your left arm gives out at rep 6 and your right hits rep 10, the weight is too heavy for your weaker side. Let that side dictate the load.
Dropping the weight feels like a blow to the ego. It’s not. It’s a smart, long‑term move.
The strongest people in the gym are the ones who leave their ego at the door.
When to See a Coach or Physical Therapist
You don’t need a coach for every workout. But there are moments when professional eyes make a difference.
You’ve been training for months with no progress. If your weights aren’t moving up and your body isn’t changing, a coach can spot what you’re missing, usually a form or programming flaw.
You have a history of injuries. If you’ve had shoulder, back, or knee issues, working with a physical therapist or qualified strength coach is essential. They can teach you modifications that keep you training safely.
You feel pain that doesn’t go away after a warm‑up. Sharp pain during exercise or lingering pain after a session is a sign to get checked. Don’t push through it.
You’re unsure if your form is correct. Even a single session with a coach can correct major errors. Think of it as an investment in your joint health.
You can also use your phone to film your sets from the side and front. Compare what you see to trusted form guides online. Self‑correction is a powerful skill, but it’s not a replacement for expert guidance when something feels wrong.
Frequently Asked Questions
Should I lock my elbows at the top of a dumbbell press?
No. Locking out transfers the load from your muscles to your joint capsule. Keep a soft bend in your elbow at the top of presses and curls.
This maintains tension on the target muscles and protects your joints from unnecessary stress.
How do I know if my wrist is in a neutral position?
Look at your hand from the side. Your wrist should form a straight line with your forearm. If it’s bent backward (extended) or forward (flexed), it’s not neutral.
The easiest cue is to pretend you’re holding a cup of coffee, you don’t want to spill it.
Can I fix a muscle imbalance with dumbbells?
Yes. Start every exercise with your weaker side first. Do the same number of reps on your stronger side, no more.
Over time, your weaker side will catch up. Avoid using heavier weights on your strong side to “even out.” That tends to make the imbalance worse.
Is it better to go heavy or go slow?
Neither is universally better. Heavy, controlled reps build strength. Slower, lighter reps with a longer eccentric phase build muscle size.
The best approach is to cycle between both. Use heavier loads for strength phases and slower tempo work for hypertrophy phases.
What should I do if my lower back hurts during dumbbell presses?
Stop and check your setup. Your rib cage might be flared, or your feet might be off the ground. Keep your ribs down, your core braced, and your feet planted.
If the pain persists, drop the weight or switch to floor presses where your range of motion is naturally limited.
How often should I change my dumbbell routine?
Every 4 to 6 weeks is a good rule of thumb. That gives your body enough time to adapt but not so long that you plateau. Change the exercise variation, the rep range, or the tempo.
Small tweaks are enough to keep progress coming without starting from scratch.
The Two-Minute Form Check You Should Do Before Every Session
Before you touch a dumbbell, run through this quick checklist. It takes less than two minutes and catches most form issues before they become problems.
Step one: Stand in front of a mirror. Check your wrist position with an empty hand. Straight line from forearm to knuckles.
Good.
Step two: Take a deep breath into your belly. Feel your rib cage expand sideways, not forward. Keep your ribs down.
Step three: Squeeze your shoulder blades together and down. Hold that position while you raise your arms to shoulder height.
Step four: Stand with your feet hip-width apart. Push your feet into the floor. Feel your glutes engage.
If any of these feel off, spend a few extra minutes loosening up tight areas. Tight lats, for example, can pull your shoulders forward and mess up your pressing mechanics. A quick lat stretch or thoracic spine mobilization can fix that in under a minute.
Real Scenarios: What Good Form Looks Like in Practice
Let's put all this theory into three common scenarios. Each one shows how the same principles apply across different exercises.
Scenario One: The Dumbbell Bench Press
You set up with your feet planted and your shoulder blades retracted. You take a deep breath and unrack the dumbbells. On the descent, your elbows stay at 45 degrees.
The dumbbells touch your chest just below your nipples. You pause for a heartbeat. You drive the weight back up in a slight arc.
At the top, your elbows stay soft. Your wrists are straight throughout.
That's a perfect rep. If you want to go deeper on this movement, our breakdown of specific muscles worked during the dumbbell bench press covers the anatomy in detail.
Scenario Two: The Single-Arm Dumbbell Row
You brace one hand and one knee on a bench. Your back is flat. Your neck is neutral.
You grab the dumbbell with a neutral grip. You pull it toward your hip, not your armpit. Your elbow stays close to your body.
You squeeze your lat at the top. You lower the weight under control.
No twisting. No jerking. That's a proper row.
Our step-by-step guide to the single-arm dumbbell row walks through every nuance of this movement.
Scenario Three: The Dumbbell Shoulder Press
You clean the dumbbells to your shoulders. Your wrists are straight. Your elbows are slightly forward of your torso.
You brace your core and pull your ribs down. You press the dumbbells overhead until your arms are almost straight. You keep your lower back neutral.
If you feel your ribs flare or your back arch, drop the weight or switch to a seated variation. Our beginner's guide to shoulder workout with dumbbells has more tips for protecting your shoulders.
Wrapping This Up
Learning how to properly lift dumbbells is not complicated. It's also not optional. The mechanics we covered here apply to every dumbbell exercise you'll ever do.
Keep your wrists neutral. Brace your core. Control the descent.
Stop when your form breaks.
Those four rules will carry you through years of safe, productive training. Everything else is just details.